Prototyper

From a sketch on paper to a clickable prototype
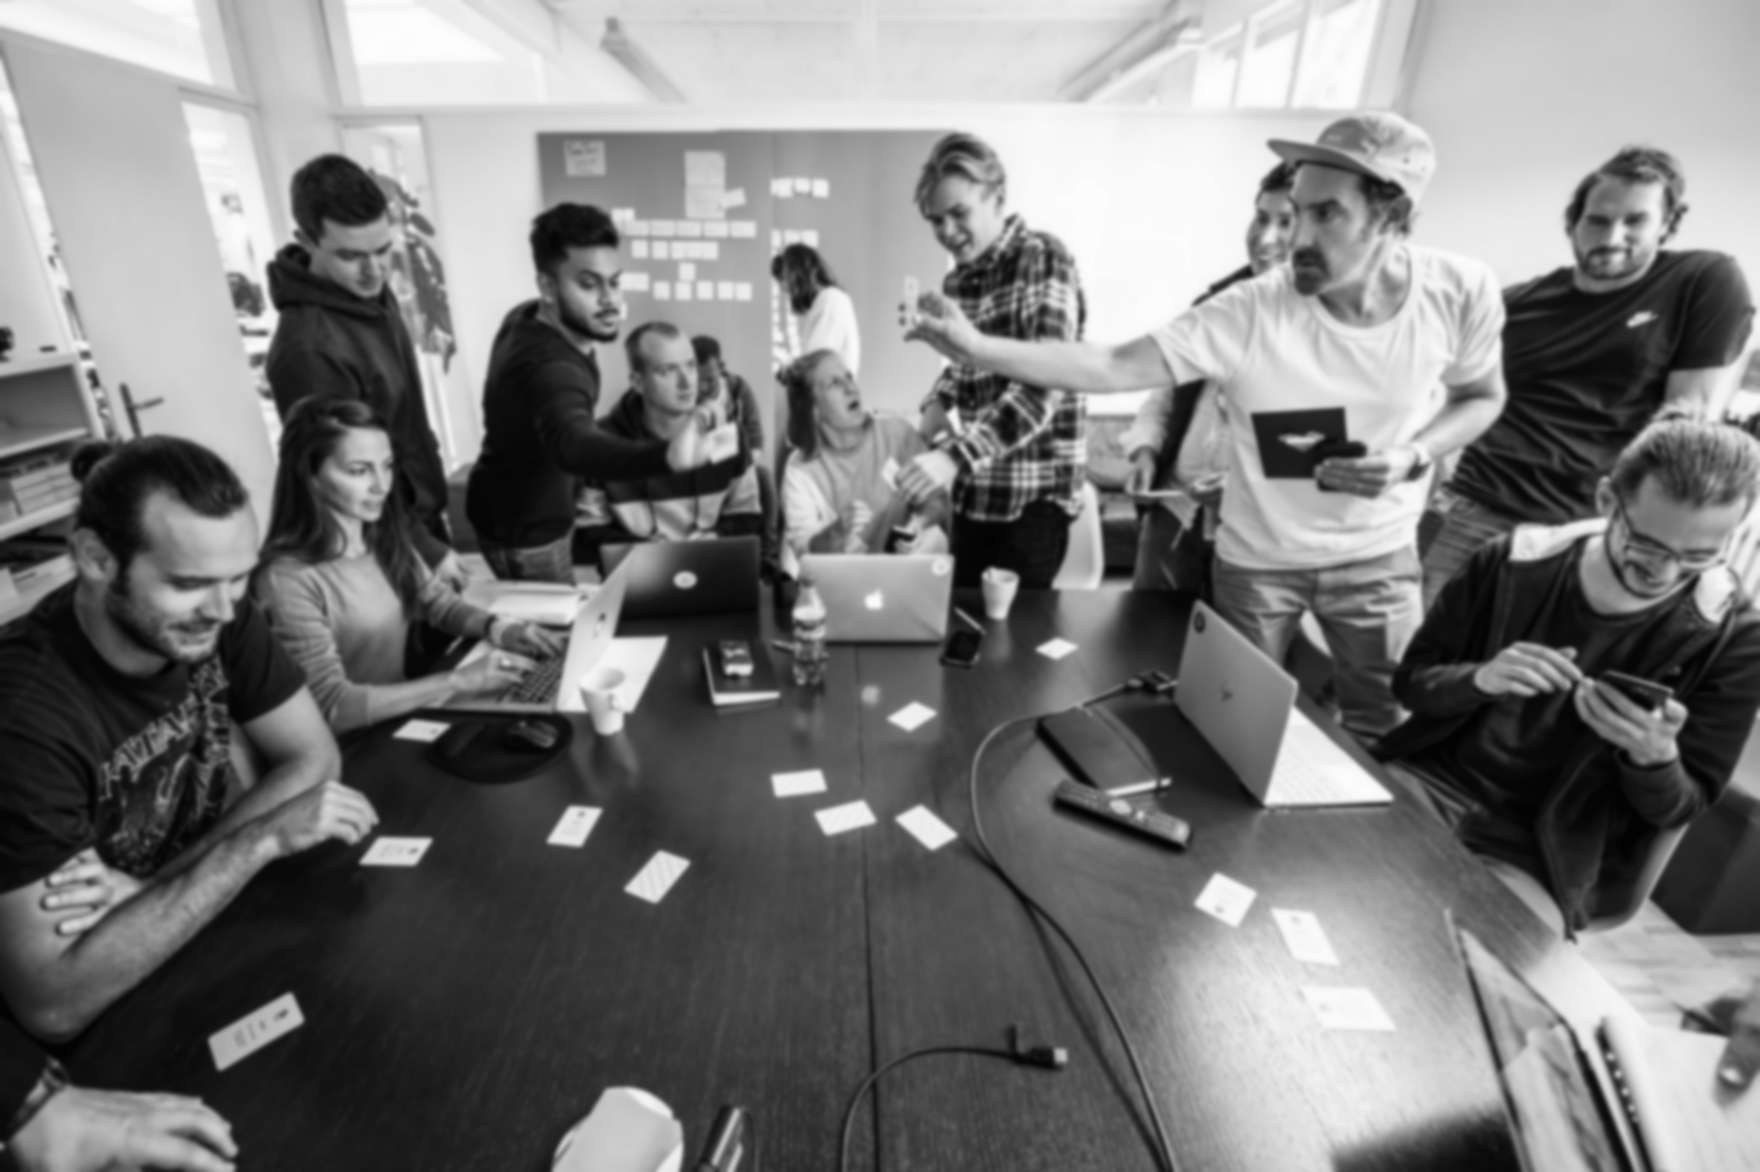
Every year, as part of National Future Day and our «Schnuppertag» events, we invite students to our agency. In just one day, they design their own app, sketch out the screens on paper, and use an external tool to assemble them into a clickable prototype. The whole experience is loud, lively, creative, and a ton of fun.
Client
Apps with love AG
Since
2026
Links

The tool that we had been using for a long time specifically for this use case eventually stopped being updated and, as a result, was no longer up to date. The workflow was no longer intuitive or easy to use, and therefore no longer aligned with our agency’s vision: “We make people’s lives easier.” 

So we decided to take matters into our own hands and build an app to turn paper sketches into clickable prototypes.

We've already described how this process works for us – from the initial idea through the design to the finished app – in this blog post about internal product development.

Why develop our own solution?

When a digital agency shows students how great products are made, the tools it uses should live up to that same standard. The external solution we'd been using no longer did. We wanted something we could control ourselves, designed around our own vision, tailored to the needs of our young target audience, and built to evolve over the long term. And we wanted a solution that would let students take their app idea home on their own device at the end of the day.

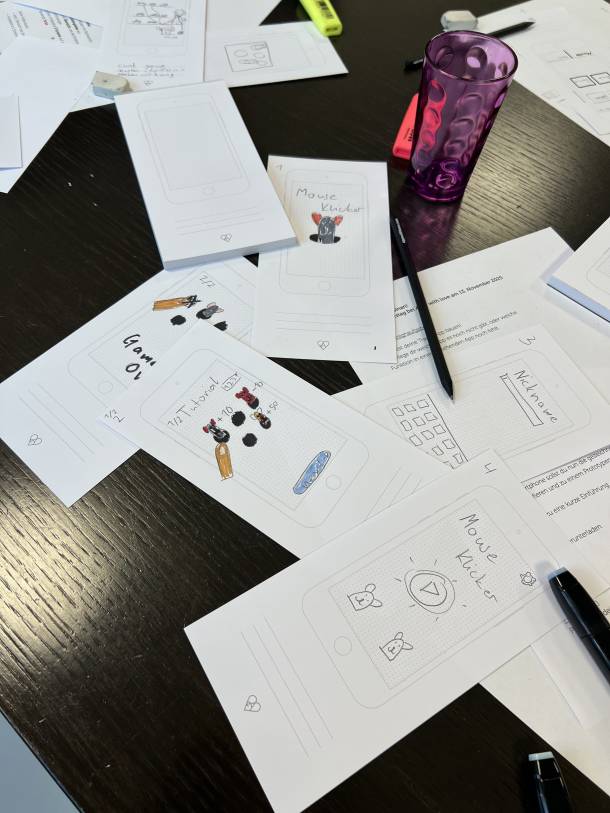
The students deliberately start with a traditional approach and sketch their app screens on paper. This offers a simple, immediate way to visualize ideas without first having to learn a digital design tool. Using Prototyper, they can turn these sketches into an interactive prototype in just a few minutes.

In the process, they actively engage with the logic of their app and think for themselves about which screens are needed, how they're connected, what happens during an interaction, and where it leads. Unlike solutions that generate a prototype automatically, they have to define these relationships themselves. This way, they not only develop their own app idea but also gain a better understanding of how digital products are structured and function.

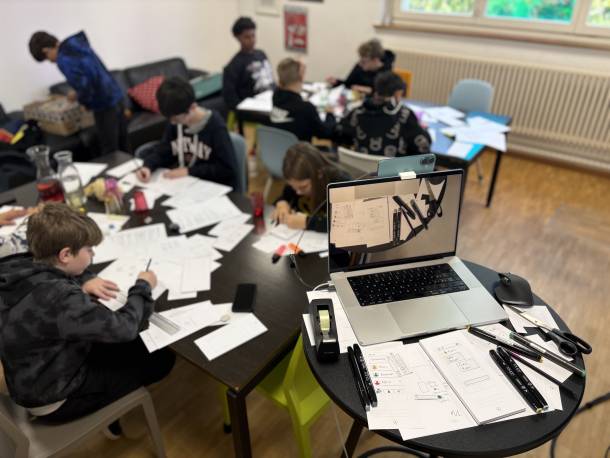
A workshop room where several children are drawing app screens at tables. In the foreground, on a round table, are a laptop, sketches, pens, and a pair of scissors.
Children sketch their app idea on paper and then use an app to turn it into a clickable prototype
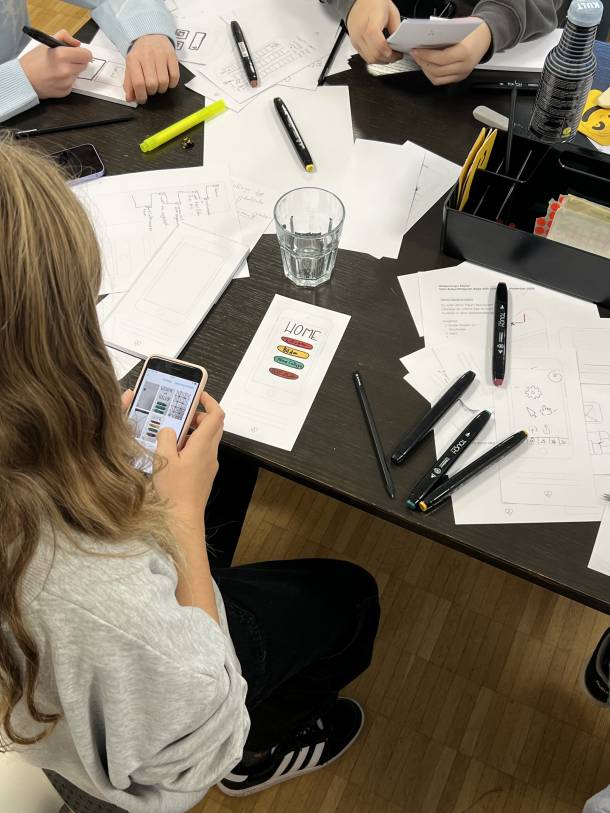
Paper sketches for an app idea
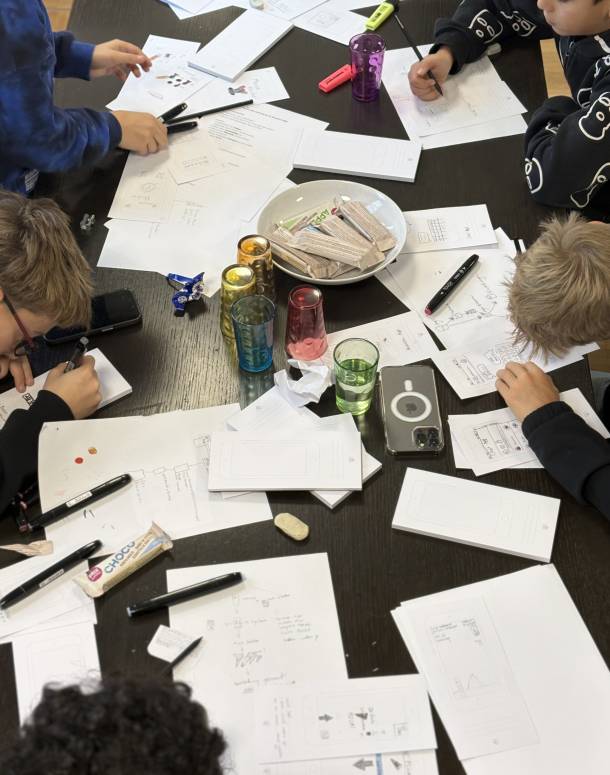
Children are sitting at a table and sketching their app idea on paper. Sheets of paper, glasses, pens, and candy bars are scattered across the table.
On National Future Day, students develop their own app ideas and turn their sketches into clickable prototypes.

What the Prototyper app can do

At first glance, the requirements seemed simple. But upon closer inspection, they weren't so straightforward after all.

The app is designed for teens who are (mostly) prototyping something for the first time in their lives. They have no prior experience. They have little time. And in the end, they want to hold something in their hands that feels a little bit like a real app.

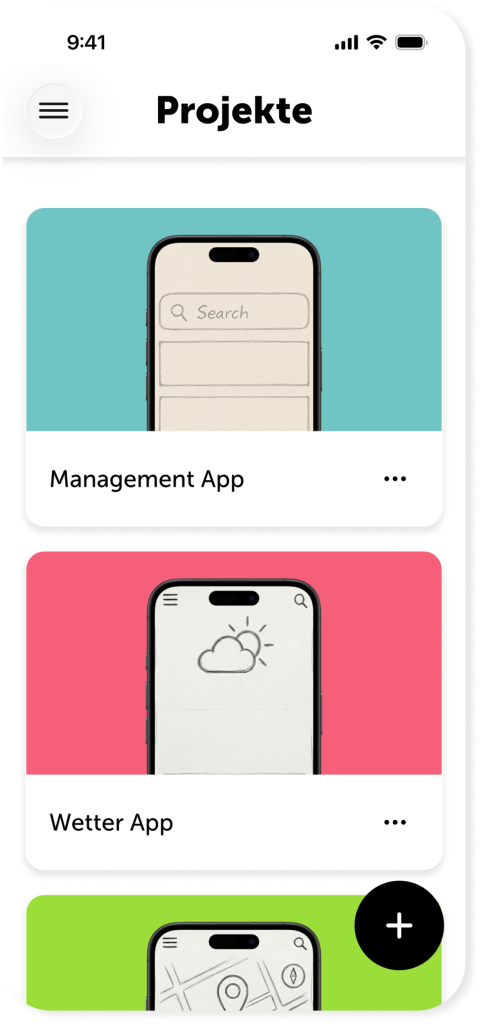
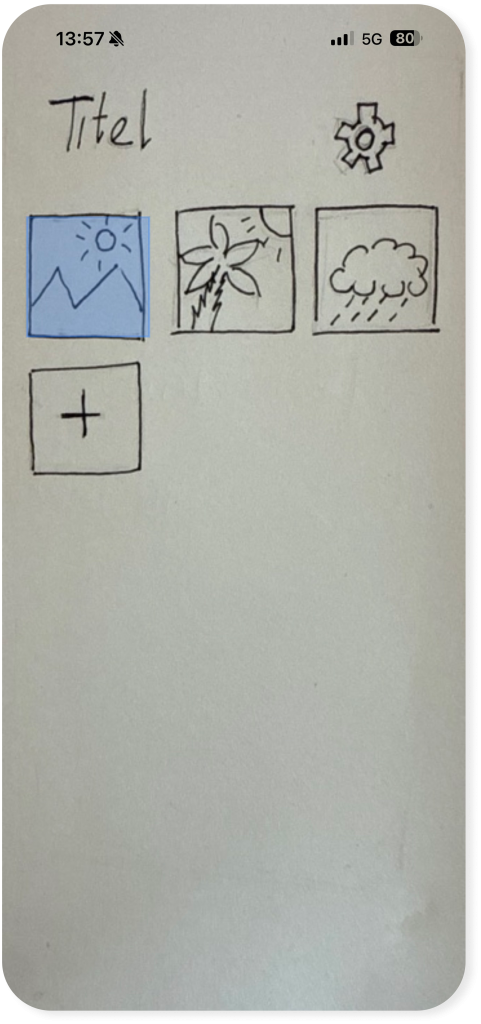
Specifically, this means: After a brief onboarding process, users are taken to a main screen with a project overview. Users who haven't created a project yet can get started in no time thanks to clear instructions: Create a project, give it a name, and get started. 

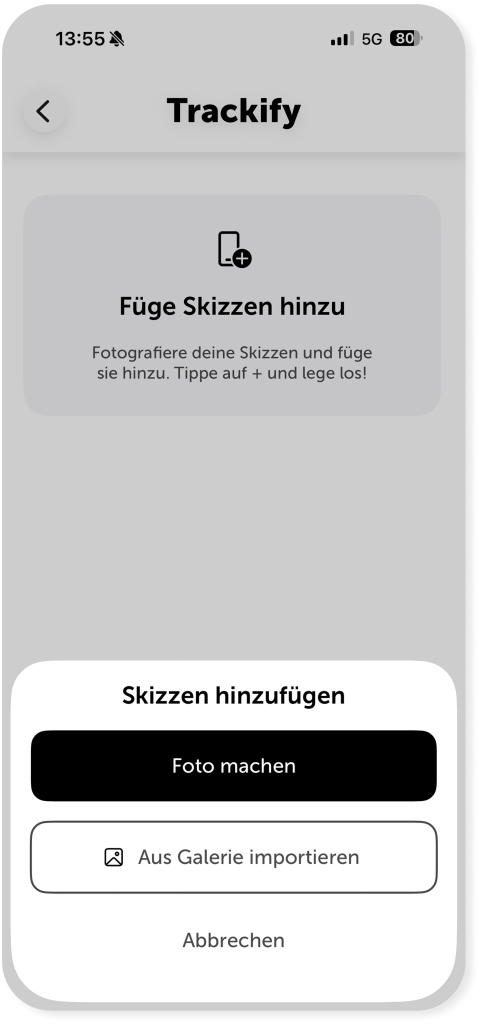
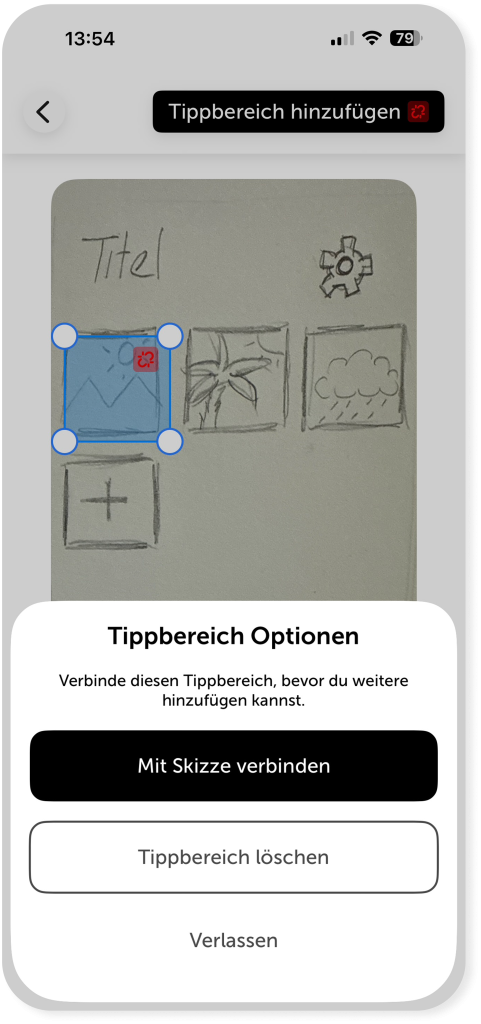
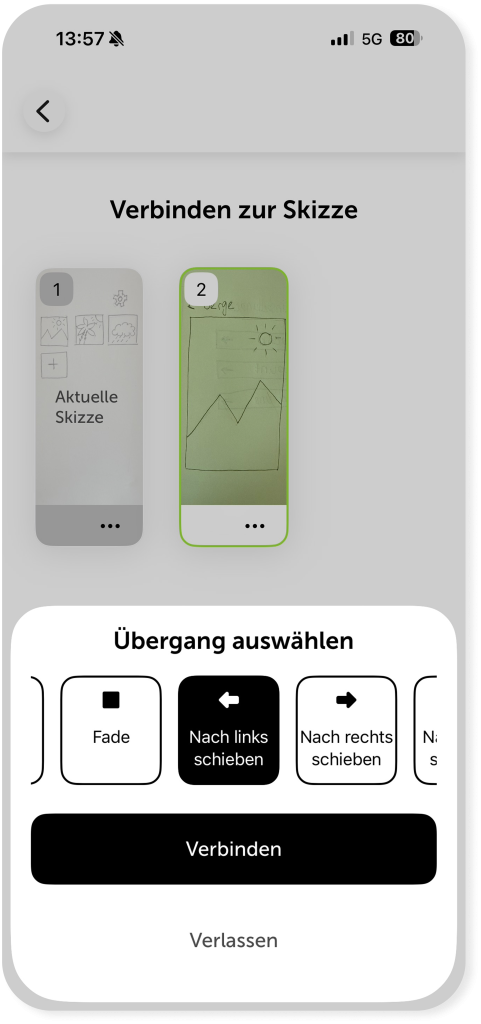
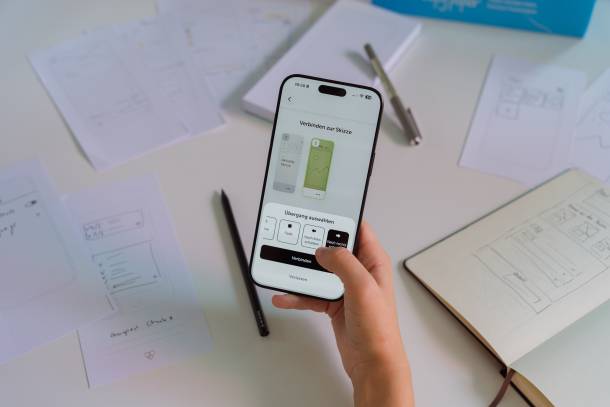
Paper sketches are photographed or imported, cropped to size, and linked together using customizable tap areas. For each interaction, you can specify which screen it leads to and what transition effect is used when that screen appears. In Play Mode, you can then test the finished prototype right away.

Project Overview in the Prototyper App
Add a sketch to a project in the Prototyper app
Define the selection area on a sketch
Define the transition between screens
Try out the prototype

The entire user experience is designed to make getting started as easy as possible and to ensure a clear process, so that users can focus on their idea rather than on the tool.

Design first

Before a single line of code was written, our design team mapped out the entire app in Figma. The focus was on four main areas: onboarding, the main screen with the project overview, project management with the sketch overview, and the so-called “Play Mode,” where the finished prototype can be tested.

The goal was to design each step so clearly that it could be understood without an explanation. Clear labels, good contrast, and limited actions per screen.

Prototyper’s interface is deliberately understated. A minimalist color palette, clean typography, plenty of white space, and few visual elements help users find their way around without competing with the actual content: the users’ individual app designs.

Technical implementation

The app is a native iOS app built with SwiftUI and Swift 6. Since experience has shown that most young people who visit us use iOS devices, we've focused on iOS as a first step. An Android version is planned for the future. For workflow management, we use Tuist instead of working directly in Xcode, which makes the project structure much easier to maintain. Localizations are handled through Localise.biz, so text is never modified directly in the code but is always maintained through the web interface.

One of the biggest challenges during implementation was the photo-cropping feature. iOS does not natively include a cropper that enforces the correct aspect ratio, allows free zooming, and can be customized to match our design language. We therefore integrated the open-source library SwiftyCrop and configured it with our brand palette. The result: when cropping, students can see exactly how the sketch will look on the screen later.

To ensure the app runs smoothly even on older devices, we've put a lot of work into the image pipeline. Each image is saved in two versions – the original and a cropped version – so it can be cropped again later without losing quality. When loading, a thumbnail version appears first, then the image sharpens up. Play Mode loads the next image in the background before you even tap on it.

The entire app works offline. No accounts, no servers, no data collection, no dependencies. The projects you create are saved locally on your device.
A hand holding an iPhone with the Prototyper app open. Sketches are being connected on the screen, and paper sketches and pens are in the background.

What we've learned

It’s easy to underestimate the effort and time required to design and develop a proprietary product. Alongside day-to-day operations and high-priority projects, it’s a challenge to develop your own tool on the side. Especially when the users are teenagers who have little patience and a low tolerance for errors – the bar is set high. Still, it is satisfying to solve for a challenge with a tool we have built ourselves.

The decision to design first and then build in this specific case ultimately saved us a lot of time. Not because that’s necessarily the right approach for every project, but because it allowed us to identify the truly tricky parts early on.

What's next for the Prototyper app

So far, we’ve been able to use Prototyper during our initial «Schnuppertag», and we’re looking forward to seeing how the app performs with larger groups. It’s particularly valuable that we can observe the target audience using the app directly during events, receive immediate feedback, and incorporate that feedback into the app’s further development.

Prototyper was created to address a very specific need of our own. However, because we believe that simple, playful access to prototyping offers added value even beyond our Future Day and orientation events, we’ve made the app publicly available on the App Store. Anyone who wants to try out Prototyper can download the iOS app here and get started right away.
And if you’d like to turn a prototype into a fully-fledged digital product, you can find out more about concept development, design, and development in our services.

0:00
0:00